

I had an old mason jar that I got from rinsing out a spaghetti sauce jar. Sometimes those jars can be kind of nice. I had it laying around empty for a long time but I just really liked the jar (don't ask, it happens). There are only two jar sauces that I buy at this point and they are both from Trader Joe's, so I know for a fact that this one has been around for some time. I googled some images for sauce jars and I think this was the brand as it is the only one I can find that uses the square-ish shaped jars.
Anywho, I was on Craftgawker and found a really cute tutorial on how to make a dishwashing liquid dispenser from a mason jar. That tutorial uses a regular 3-piece mason jar like the ones I pimped here.
Being that I had this one laying around I decided it'd be great to use as a dispenser because it's huge and I wouldn't have to refill it nearly as much as I do my old one. (Which was pretty sad, come to think of it.) Aaaaand, the lid for this jar is one piece so, it's much easier to do.
So, you will need:

- a clean and un-smelly mason jar *
- an awl or something sharp to make a hole in the center of your lid
- cutting pliers or sharp pliers that you can use to snip the aluminum
- a clean lid with the rubbery underside removed and discarded
- paint to decorate your lid
- glaze sealant
- pump (I used an old pump form a lotion bottle with the "straw" from a shampoo bottle)
- a piece of cork cut to fit inside the pump
- x-acto knife
- sharpie marker
*tip: wash your jar with soap and really hot water and then rinse with cold water to remove smell
Here we go:

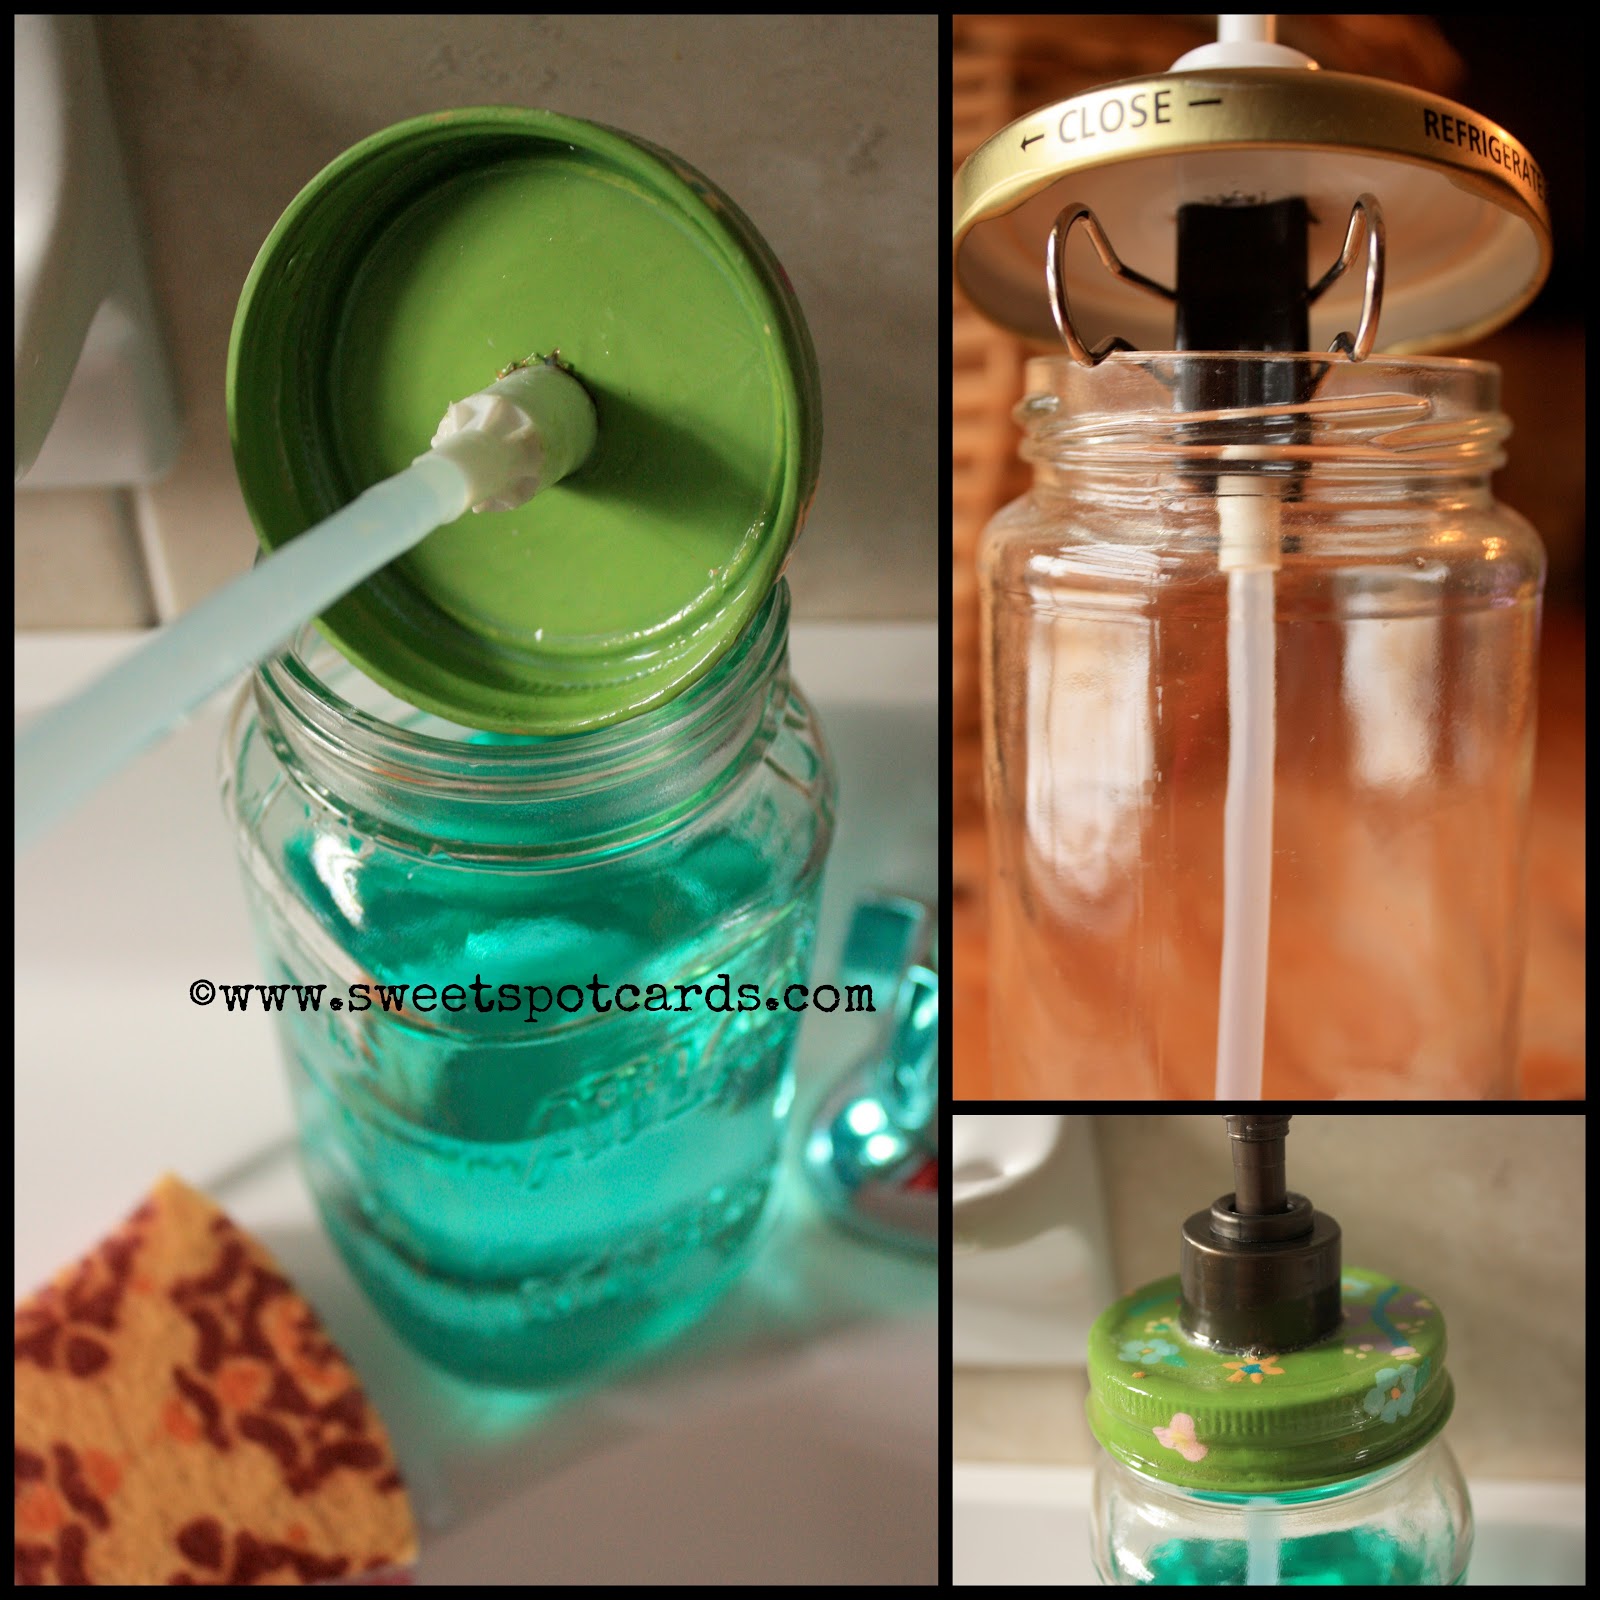
Make a hole right in the center of your lid with your awl. Make it as wide as possible. With your pliers you will begin to snip pieces from the jar until your hole is wide enough to accommodate the widest part of the soap pump. Once you're there just make sure your hole is as smooth as possible by snipping away all the pieces you've cut.
Paint your lid as cute as you like. For the base layer you will need at least 3 coats of paint in order to cover the lid. Let it dry in between. Be patient and it'll all be worth it. Once the base coats have dried you can decorate your lid with some more paint. I opted for cutesy, but you can do some really cool designs if you plan. Allow to dry and then seal with a coat of glaze. Paint and seal the underside of the lid as well. I used this brand, which I found at Michael's.
The glaze is really important as it will make the lid waterproof. Being that it will consistently be getting wet, you want it to be free of mildew or mold (it is a tin lid, after all).

Slice a piece of cork about 1/2 inch thick. (I used a champagne cork.) Cut a hole in your your cork the same size as the hole you made for your lid. You can first mark it off with your sharpie pen and then cut it out with your x-acto knife. You will use this cork as a sort of washer in between your pump and the lid. It also gives you a place where to add more sealant to create a tight seal.

Fill with your favorite soap either in your bathroom or your kitchen. My friends say that it looks like I paid $30 for it in Anthropologie. LOL! But I didn't spend a penny!
Have fun making your dispenser and share pics and/or tips!
Stay SWEET!

Good post. I just stumbled upon your post and wanted to say that I have really enjoyed reading your blog posts. Any way I'll be subscribing to your feed and I hope you post again soon.Thanks for sharing. melt and pour soap bases
ReplyDeleteOOH, that is a really cute idea....thanks for sharing.
ReplyDelete