
I've been wanting to do this post for a very long time. Since we have sunny skies today I was inspired to actually do it.
For all those who want to learn how to quill, I've decided to share beginner quilling shapes and how to make them. This is the first in a series of a few how-to-quill posts I have in mind. So, let's get started.
You will need:

- Strips of paper - I took a few old book pages and wound them through a hand shredder
- Glue - regular white "school" glue is fine
- a quilling tool - you can use a toothpick, an awl, purchase one online, or make your own. See how here.
These are the most basic shapes in quilling:

You always start out with a coil. You wrap your strip around your tool and twist until the end. You then release the coil from the tool and let it relax a bit. You don't want it too open because then your shape will be undefined. So, don't over-relax. ;) Next you glue the end of the strip.


Now, on to shapes.

The vast majority of basic shapes start off with a teardrop.
This shape is achieved by pinching the end of your loose coil.
Like this:
Pinch the end where you add the glue and you will conceal the end of your strip and it'll hold well.
Like this:


A curved teardrop is a teardrop that's been hugged.
You make a teardrop and with the ball of your thumb
you press into it to create a curve. Easy, right?

A marquise is a double-ended teardrop.
Pinch opposing ends and make an eye shape.

The double-curved marquise isa marquise that's been hugged.
You make a marquise and, same as the curved teardrop,
press in with the balls of your thumbs bending in opposite
directions. You need to use both hands.

Make a marquise. Rotate the shape and make another marquise
at the opposite end. Basically two opposite facing marquises.
Don't pinch too hard to achieve the soft center needed to
make a square. You will see the shape before you pinch.

For the diamond you make a marquise shape and rotate it a bit.
Then you make two more points by pinching with both hands.
You will see the shape before you commit to the pinch. This
shape can be made really thin and long or short and fat.
It all depends on your pinch ;)

Same as the diamond shape. Make a marquise, rotate and
pinch two more points. Then press toward the center to elongate.

For the gumdrop shape, you start off with a loose coil.
Using both hands, form a half circle and pinch two ends. Careful not to squish too hard and destroy the curve.

A half moon shape is a gumdrop that's been hugged.
Make a gumdrop and with the ball of your thumb press in to create a crescent shape.

An oval has no points. Start off with a loose coil and gently
press into the center to create an oval shape. Use light pressure.

Make a teardrop. With your nail press in to create a dent
and pinch another point to create a bunny ear.
I know, this one requires more pictures:


For the duck foot or "tulip", you start out with a teardrop.
Same as the bunny ear you will pinch two extra points on either side of center of the teardrop.
Use both hands to simultaneously push in and pinch up the two points.

Make a teardrop and with both hands pinch two more points
on the opposite end of the teardrop.

Make a teardrop and on the opposite end, using both hands.
Push in while pinching two extra points.
- You can also use an awl or a skewer to aid in creating the indentation in any of the shapes.
You can basically make any shape your heart desires. But, all of these shapes are "official shapes" approved by the North American Quilling Guild.
There are lots more shapes and techniques to share. I'm excited to do so and will as soon as I can. Just wanted to get your foot into the quilling door. I really hope you experiment mixing and combining shapes to create amazing things. It's one of the cheapest crafts you can become addicted to and we can all use cheap these days, right?
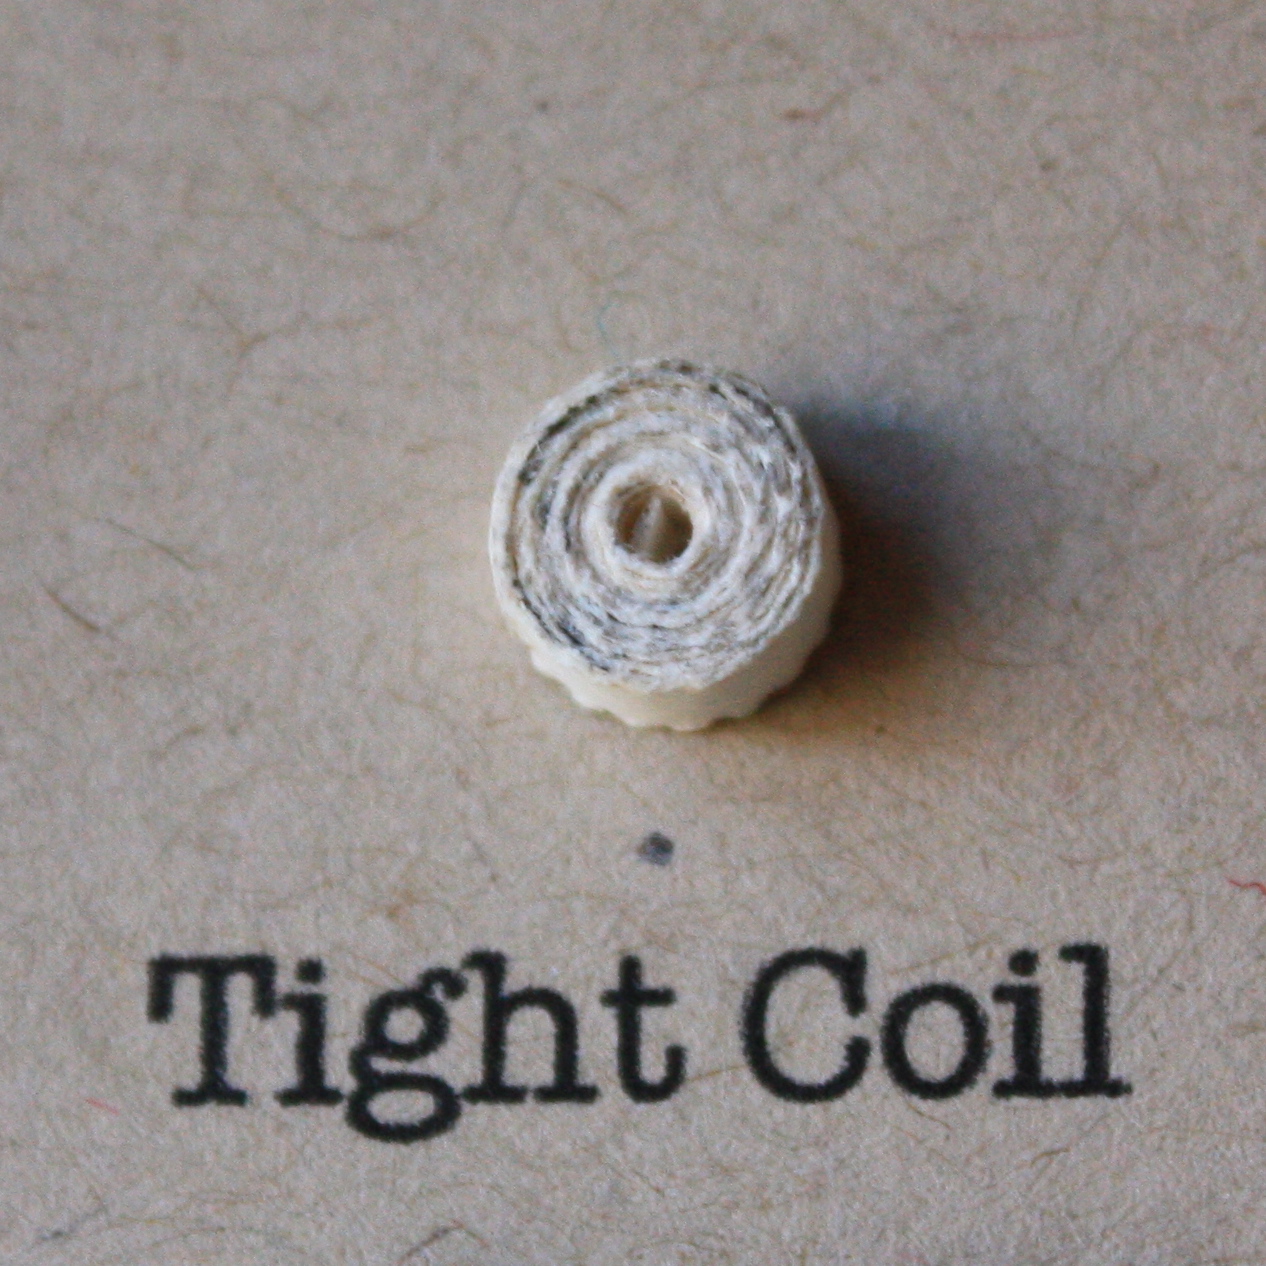
Next up will be the world of the "tight coil".
Stay tuned and in the meantime,
SWEET twisting and twirling to you all!


This is a great post! I've been wanting to try quilling, this will help out so much. Thank you!!
ReplyDeleteSo I've been making these shapes since I was a kid and never knew there was a name for it, or what to do w/ them after I had them done. Some I would glue together. So what do you do with them?
ReplyDeletehey u make amazing stuffs....i too started quilling n ur cards inspires me a lot..! gud ideas u have :)
ReplyDeleteThis is great!! So easy to follow!! Your very clever!!
ReplyDeleteThanks, Alison!
DeleteYou're very welcome! ;)
ReplyDeleteHi there,
ReplyDeleteI learnt how to quill only about 2 months ago and LOVE it to bits..... this is a great little how to, am going to follow your blog now :-))
Linda
Thank you, Linny! Glad to have you here at the Sweet Spot!
DeleteI love your guides! I have a couple of questions however : 1. How thin do the strips need to be? 2. Can you use scrapbook paper or does it need to be thin paper like book pages? 3. How delicate is the end product once glued onto canvas/board etc?
ReplyDeleteHi, Starr! I'm so happy you like the quilling series. Strips can pretty much be as thin or thick as you like. But, standard sizes are 1/8, 1/4, 3/8 and 1/2 inch. I personally use the 1/8 inch strips most and usually use the other sizes only when I'm making fringed flowers or certain accents on my cards.
DeleteThe beauty of quilling is that you can use any paper you like. You can take book pages, newspaper or magazine strips...whatever you like and cut them down to size.
The end product is actually quite sturdy once glued down. If gluing on to a canvas you will have a piece of art that you can love and cherish forever. The only thing I recommend is that you don't put your works in direct sunlight as they may fade considerably with time.
Sorry it took me so many days to respond but I do hope I answered well. ;) Thank you for your comment and your questions!
Thank you so much for your wonderful post.
ReplyDeleteThank you so much for your delightful post.
ReplyDelete